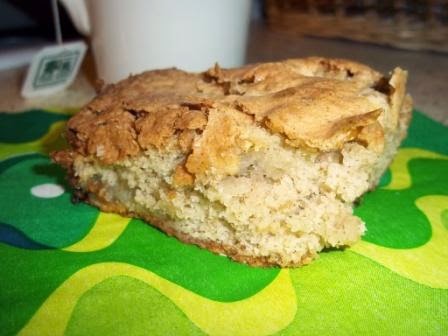
Rustic Spiced Pickled Apple Tart
tart dough
1-1/2 cups
1/2 tsp. cinnamon
1/8 tsp. salt
6 oz. (1-1/2 sticks) cold butter, cubed
1/3 cup cold water
assembly
4 tsp. sugar
2 tsp. flour
pickled apple slices (approx. 3 apples worth)
1 tbsp. melted butter
Mix together 1-1/2 cups of flour with the cinnamon and salt.

Cut in the cold butter cubes with a pastry blender or fork until the mixture forms pea-sized crumbs. You can also put ingredients in a food processor and pulse on low until it crumbs.

Make a well in the center of the mixture and pour in the water. Using your hands, knead the ingredients together until they form a ball.

Roll out onto a floured surface and knead for 2-3 minutes. Roll out with a rolling pin to a thickness of approximately 3/8".
Cover a large cookie sheet or pizza pan with parchment paper. Use the rolling pin to roll up your flattened dough and transfer to the papered surface.

Mix together the remaining 2 tsp. flour with the sugar and sprinkle across the surface of the dough.
Lay out the apple slices in a round pattern in the middle of the rolled dough, leaving a 3" border uncovered.

Fold the dough over the apples, as neatly or not as you'd like.

Bake at 400 degrees for 30 minutes then brush the edges with the melted butter. Loosely cover with foil and bake an additional 15-30 minutes until the crust is golden brown and the apples are tender and cooked through. Mine baked up in 46 minutes.

Remove from oven and cool on rack. Serve up with a scoop of your favorite frozen dessert or, for a change, throw a couple of cheese slices on the side. I recommend cheddar!
In case I haven't tooted my own horn lately...best tart ever! I am a total food genius. :D Toot! Toot!